top of page
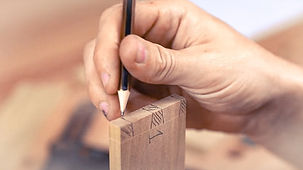
In this video, I’ll show you how to layout the mitred dovetails that will hold this box together. The reason we’re using mitred dovetails in this instance is to hide a groove within the top and bottom of the box. Which is somewhat difficult to accomplish when using normal dovetails, as you’ll need to produce a stopped groove. Plus, this joinery also looks cooler and is more fun. Can’t argue with that can you?
LESSON OBJECTIVES
- - How to layout the Dovetails
- How to layout the Mitres
- How much overhang to leave
- How to avoid base line remnants
SUPPORTING MATERIAL

Want your own Custom Marking Knife?
A stunning range of hand crafted, bespoke marking knives in a range of high quality woods and ferrules.
bottom of page
%20v3.png)


